Custom Components
Implementing Custom Components by Extending Predefined Widgets
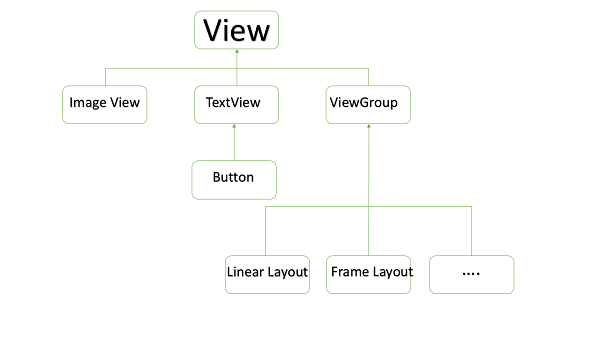
Android provides many built-in UI components such as Button, TextView, EditText, ListView, CheckBox, RadioButton, Spinner, Gallery, AutoCompleteTextView, etc., which can be directly used in application development. However, there may be situations where the default behavior or appearance of these widgets does not fully meet application requirements.
In such cases, Android allows developers to create custom components by extending existing widgets and adding their own functionality. If only minor changes are required, you can simply subclass an existing widget or layout and override its methods to gain better control over its appearance and behavior.
This section explains how to create a custom View component in Android step by step.
Example: Creating a Custom Component Using a Custom View
Steps to Create a Simple Custom Component
| Step | Description |
|---|---|
| 1 | Create a new Android application named myapplication using Android Studio with the package com.example.tutorialspoint7.myapplication. |
| 2 | Create an XML file res/values/attrs.xml to define custom attributes. |
| 3 | Create a Java class for the custom View component. |
| 4 | Modify res/layout/activity_main.xml to use the custom View with default and custom attributes. |
| 5 | Run the application and verify the output on the Android Emulator. |
Defining Custom Attributes (attrs.xml)
Create a file named attrs.xml inside the res/values folder:
This file defines custom attributes that will be used by the custom View.
Updating the Layout File (activity_main.xml)
Modify the activity layout to include the custom component:
Creating the Custom View Class (TimeView.java)
package com.example.tutorialspoint7.myapplication; import java.text.SimpleDateFormat; import java.util.Calendar; import android.content.Context; import android.content.res.TypedArray; import android.graphics.Color; import android.util.AttributeSet; import android.widget.TextView; public class TimeView extends TextView { private String titleText; private boolean color; public TimeView(Context context) { super(context); setTimeView(); } public TimeView(Context context, AttributeSet attrs) { super(context, attrs); TypedArray typedArray = context.obtainStyledAttributes( attrs, R.styleable.TimeView); int count = typedArray.getIndexCount(); try { for (int i = 0; i < count; i++) { int attr = typedArray.getIndex(i); if (attr == R.styleable.TimeView_title) { titleText = typedArray.getString(attr); setTimeView(); } else if (attr == R.styleable.TimeView_setColor) { color = typedArray.getBoolean(attr, false); decorateText(); } } } finally { typedArray.recycle(); } } public TimeView(Context context, AttributeSet attrs, int defStyle) { super(context, attrs, defStyle); setTimeView(); } private void setTimeView() { SimpleDateFormat dateFormat = new SimpleDateFormat("hh.mm aa"); String time = dateFormat.format(Calendar.getInstance().getTime()); if (titleText != null) setText(titleText + " " + time); else setText(time); } private void decorateText() { if (color) { setShadowLayer(4, 2, 2, Color.rgb(250, 0, 250)); setBackgroundColor(Color.CYAN); } else { setBackgroundColor(Color.RED); } } }
This class extends TextView, reads custom attributes, and dynamically displays the current time with styling.
Updating MainActivity.java
package com.example.tutorialspoint7.myapplication; import android.os.Bundle; import android.app.Activity; import android.widget.TextView; public class MainActivity extends Activity { @Override protected void onCreate(Bundle savedInstanceState) { super.onCreate(savedInstanceState); setContentView(R.layout.activity_main); TextView simpleText = (TextView) findViewById(R.id.simple); simpleText.setText("That is a simple TextView"); } }
Output
When the application runs, the custom TimeView displays the current time along with a title and customized appearance based on the attributes defined in XML.