Model Binding
Model Binding in ASP.NET MVC
ASP.NET MVC Model Binding is the mechanism that maps HTTP request data (sent from the browser) to C# model objects.
It automatically creates .NET objects using form values, query strings, or route data.
Developers coming from an ASP.NET Web Forms background often get confused about how values entered in a View are converted into a Model when the request reaches the Controller. This conversion is handled by the Model Binder.
What is Model Binding?
Model binding acts as a bridge between HTTP requests and controller action methods.
It transfers GET and POST data into C# objects
It reduces manual coding
It uses default binders internally
It works automatically if naming conventions are followed
Example
Lets take a look at a simple example in which we add a Create View in our project from the last chapter and we will see how we get these values from the View to the EmployeeController action method.
Following is the Create Action method for POST.
// POST: Employee/Create [HttpPost] public ActionResult Create(FormCollection collection){ try{ // TODO: Add insert logic here return RedirectToAction("Index"); }catch{ return View(); } }
Right-click on the Create Action method and select Add View
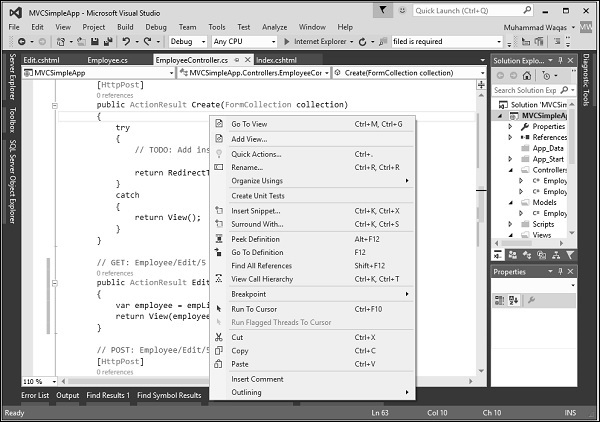
It will display the Add View dialog.
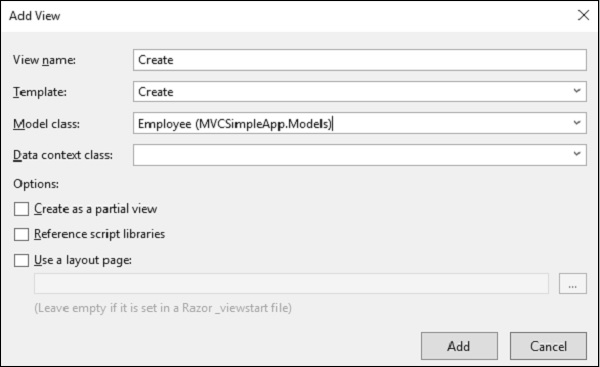
As you can see in the above screenshot, the default name is already mentioned. Now select Create from the Template dropdown and Employee from the Model class dropdown.
You will see the default code in the Create.cshtml view.
@model MVCSimpleApp.Models.Employee @{ Layout = null; }
Employee
@Html.ValidationSummary(true, "", new { @class = "text-danger" })
When the user enters values on Create View then it is available in FormCollection as well as Request.Form. We can use any of these values to populate the employee info from the view.
Lets use the following code to create the Employee using FormCollection.
// POST: Employee/Create [HttpPost] public ActionResult Create(FormCollection collection){ try { Employee emp = new Employee(); emp.Name = collection["Name"]; DateTime jDate; DateTime.TryParse(collection["DOB"], out jDate); emp.JoiningDate = jDate; string age = collection["Age"]; emp.Age = Int32.Parse(age); empList.Add(emp); return RedirectToAction("Index"); }catch { return View(); } }
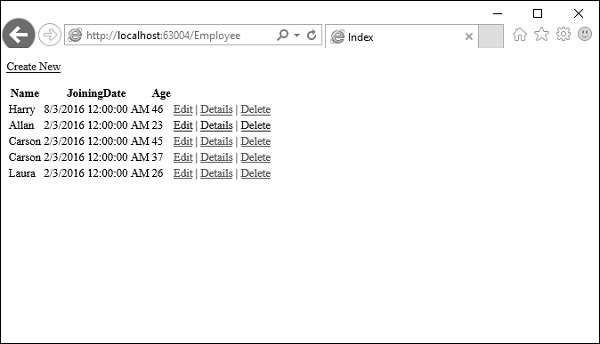
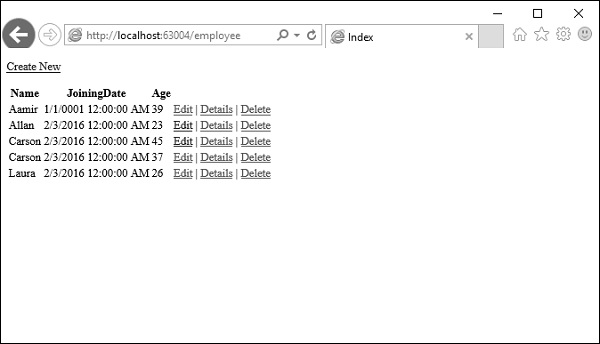
Run this application and request for this URL http://localhost:63004/Employee/. You will receive the following output.

Click the Create New link on top of the page and it will go to the following view.
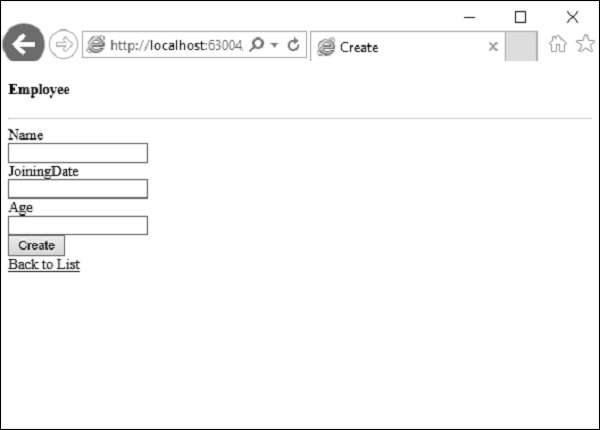
Lets enter data for another employee you want to add.
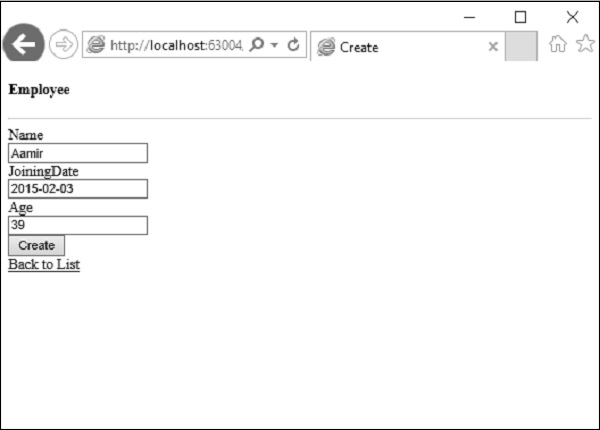
Click on the create button and you will see that the new employee is added in your list.
In the above example, we are getting all the posted values from the HTML view and then mapping these values to the Employee properties and assigning them one by one.
In this case, we will also be doing the type casting wherever the posted values are not of the same format as of the Model property.
This is also known as manual binding and this type of implementation might not be that bad for simple and small data model. However, if you have huge data models and need a lot of type casting then we can utilize the power and ease-of-use of ASP.NET MVC Model binding.
Lets take a look at the same example we did for Model binding.
We need to change the parameter of Create Method to accept the Employee Model object rather than FormCollection as shown in the following code.
// POST: Employee/Create [HttpPost] public ActionResult Create(Employee emp){ try{ empList.Add(emp); return RedirectToAction("Index"); }catch{ return View(); } }
Now the magic of Model Binding depends on the id of HTML variables that are supplying the values.
For our Employee Model, the id of the HTML input fields should be the same as the Property names of the Employee Model and you can see that Visual Studio is using the same property names of the model while creating a view.
@Html.EditorFor(model => model.Name, new { htmlAttributes = new { @class = "form-control" } })
The mapping will be based on the Property name by default. This is where we will find HTML helper methods very helpful because these helper methods will generate the HTML, which will have proper Names for the Model Binding to work.
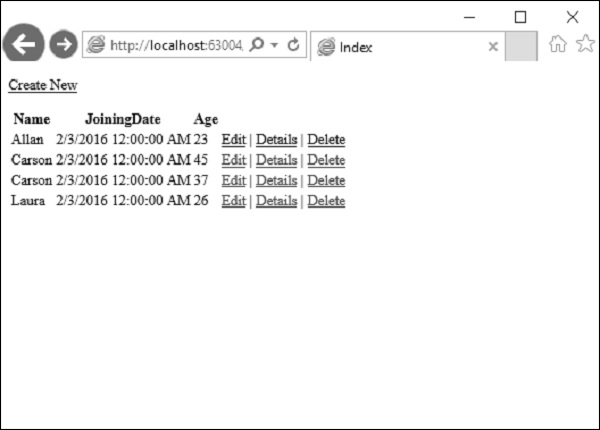
Run this application and request for the URL http://localhost:63004/Employee/. You will see the following output.
Lets click on the Create New link on the top of the page and it will go to the following view.

Lets enter data for another employee that we want to add.
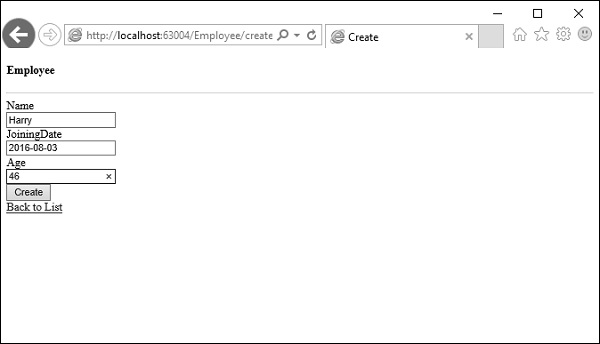
Now click the create button and you will see that the new employee is added to your list using the ASP.Net MVC model binding.