Web API
ASP.NET Web API Overview
ASP.NET Web API is a framework that makes it easy to build HTTP-based services that can be consumed by a wide variety of clients, including:
Web browsers
Mobile applications
Desktop applications
Other services
ASP.NET Web API is an ideal platform for building RESTful services on the .NET Framework.
Building APIs on the Web
There are different approaches to building APIs on the web. One traditional approach is HTTP/RPC, where HTTP is used to call remote procedures (methods) across the web.
In HTTP/RPC-style APIs:
Each operation is treated as a method call
Examples include:
GetCustomers
InsertInvoice
DeleteCustomer
Each operation typically maps to a separate URI
In contrast, RESTful APIs focus on resources and use HTTP verbs such as GET, POST, PUT, and DELETE to perform operations.
ASP.NET Web API is designed primarily to support REST-style services.
Example
Lets take a look at a simple example of Web API by creating a new ASP.NET Web Application.
Step 1 − Open the Visual Studio and click File → New → Project menu option.
A new Project dialog opens.
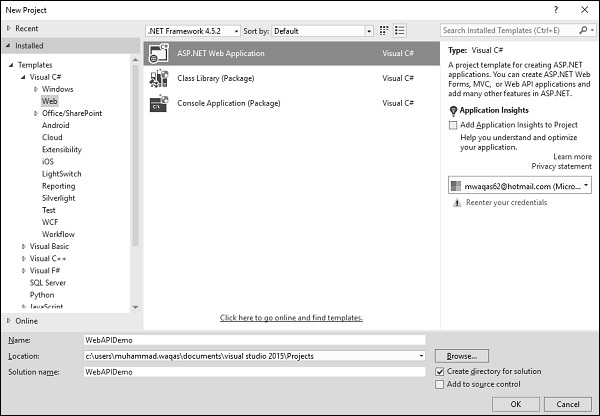
Step 2 − From the left pane, select Templates → Visual C# → Web.
Step 3 − In the middle pane, select ASP.NET Web Application
Enter project name WebAPIDemo in the Name field and click Ok to continue. You will see the following dialog, which asks you to set the initial content for the ASP.NET project.
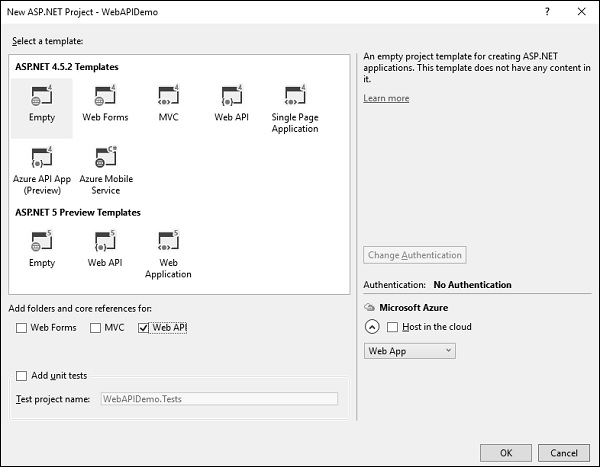
Step 4 − To keep things simple, select the Empty option and check the Web API checkbox in the Add folders and core references for section and click Ok.
Step 5 − It will create a basic MVC project with minimal predefined content.
Once the project is created by Visual Studio, you will see a number of files and folders displayed in the Solution Explorer window.
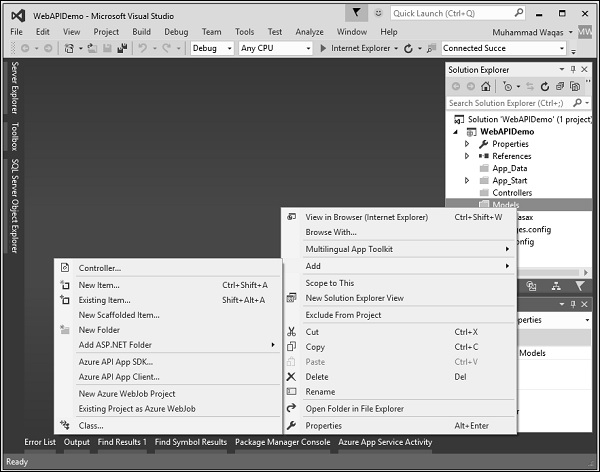
Step 6 − Now we need to add a model. Right-click on the Models folder in the solution explorer and select Add → Class.
You will now see the Add New Item dialog.
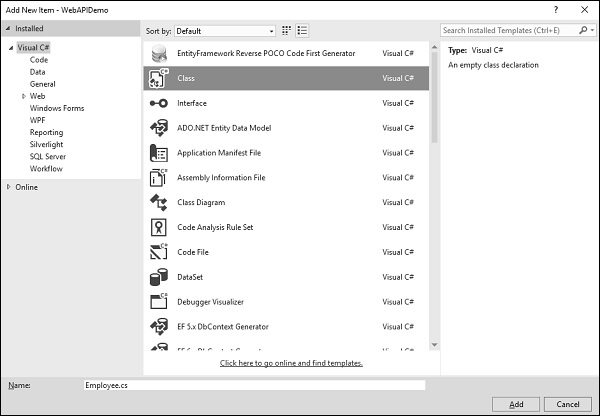
Step 7 − Select Class in the middle pan and enter Employee.cs in the name field.
Step 8 − Add some properties to Employee class using the following code.
using System; using System.Collections.Generic; using System.Linq; using System.Web; namespace WebAPIDemo.Models { public class Employee{ public int ID { get; set; } public string Name { get; set; } public DateTime JoiningDate { get; set; } public int Age { get; set; } } }
Step 9 − Lets add the controller. Right-click on the controller folder in the solution explorer and select Add → Controller.
It will display the Add Scaffold dialog.
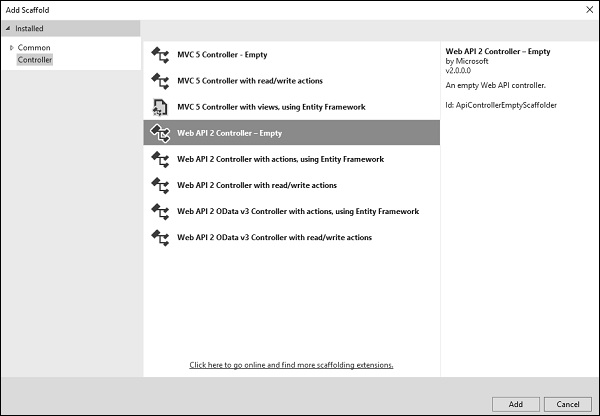
Step 10 − Select the Web API 2 Controller - Empty option. This template will create an Index method with default action for controller.
Step 11 − Click Add button and the Add Controller dialog will appear.
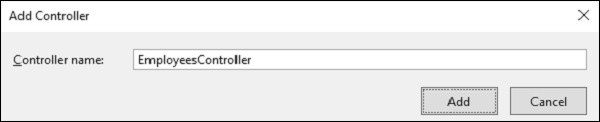
Step 12 − Set the name to EmployeesController and click Add button.
You will see a new C# file EmployeeController.cs in the Controllers folder, which is open for editing in Visual Studio with some default actions.
using System; using System.Collections.Generic; using System.Linq; using System.Web.Http; using WebAPIDemo.Models; namespace WebAPIDemo.Controllers{ public class EmployeesController : ApiController{ Employee[] employees = new Employee[]{ new Employee { ID = 1, Name = "Mark", JoiningDate = DateTime.Parse(DateTime.Today.ToString()), Age = 30 }, new Employee { ID = 2, Name = "Allan", JoiningDate = DateTime.Parse(DateTime.Today.ToString()), Age = 35 }, new Employee { ID = 3, Name = "Johny", JoiningDate = DateTime.Parse(DateTime.Today.ToString()), Age = 21 } }; public IEnumerable
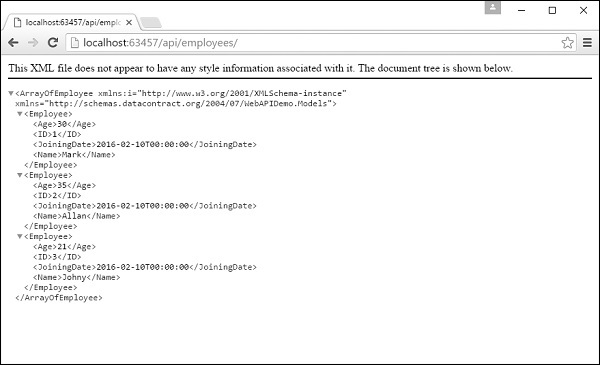
Step 13 − Run this application and specify /api/employees/ at the end of the URL and press Enter. You will see the following output.
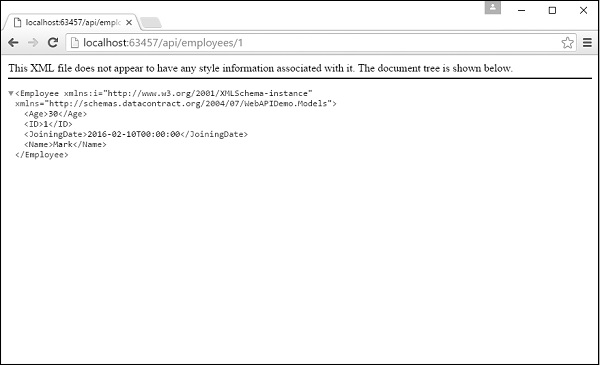
Step 14 − Let us specify the following URL http://localhost:63457/api/employees/1 and you will see the following output.