Getting Started
Creating a Simple ASP.NET MVC Application
In this chapter, we will walk through a basic working example of an ASP.NET MVC application. The goal is to build a simple web app using Visual Studio 2015, which provides all the tools required to develop, test, and deploy an MVC-based application.
Steps to Create an ASP.NET MVC Project
Step 1 − Open the Visual Studio. Click File → New → Project menu option.
A new Project dialog opens.
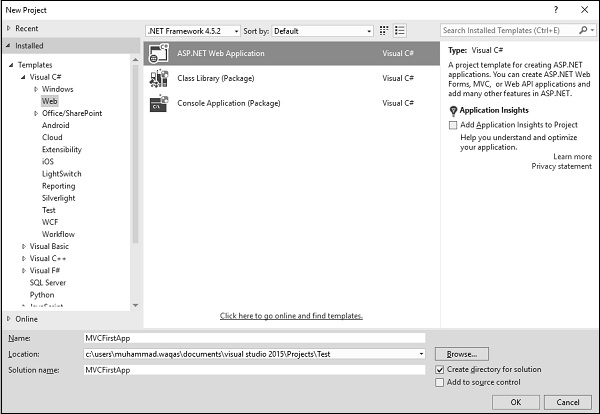
Step 2 − From the left pane, select Templates → Visual C# → Web.
Step 3 − In the middle pane, select ASP.NET Web Application.
Step 4 − Enter the project name, MVCFirstApp, in the Name field and click ok to continue. You will see the following dialog which asks you to set the initial content for the ASP.NET project.
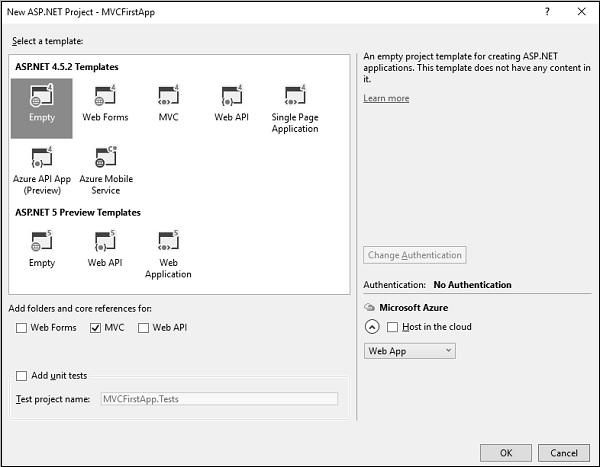
Step 5 − To keep things simple, select the Empty option and check the MVC checkbox in the Add folders and core references section. Click Ok.
It will create a basic MVC project with minimal predefined content.
Once the project is created by Visual Studio, you will see a number of files and folders displayed in the Solution Explorer window.
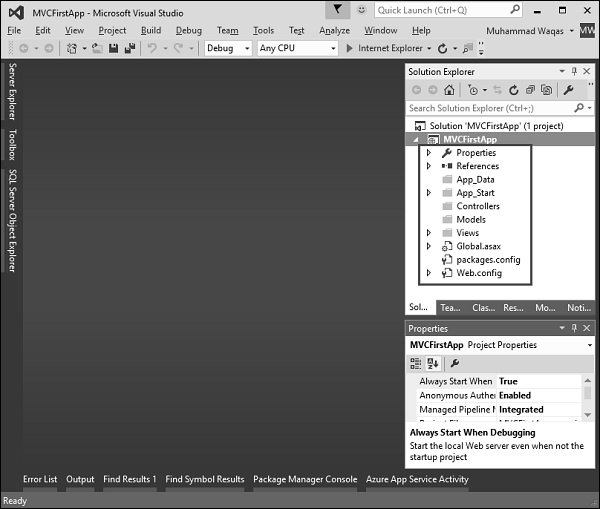
As you know that we have created ASP.Net MVC project from an empty project template, so for the moment the application does not contain anything to run.
Step 6 − Run this application from Debug → Start Debugging menu option and you will see a 404 Not Found Error.
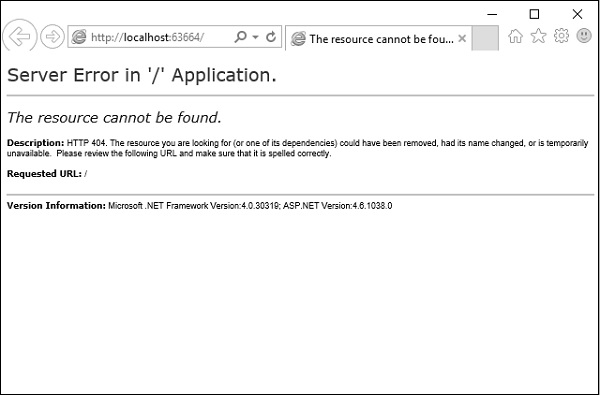
The default browser is, Internet Explorer, but you can select any browser that you have installed from the toolbar.
Add Controller
To remove the 404 Not Found error, we need to add a controller, which handles all the incoming requests.
Step 1 − To add a controller, right-click on the controller folder in the solution explorer and select Add → Controller.
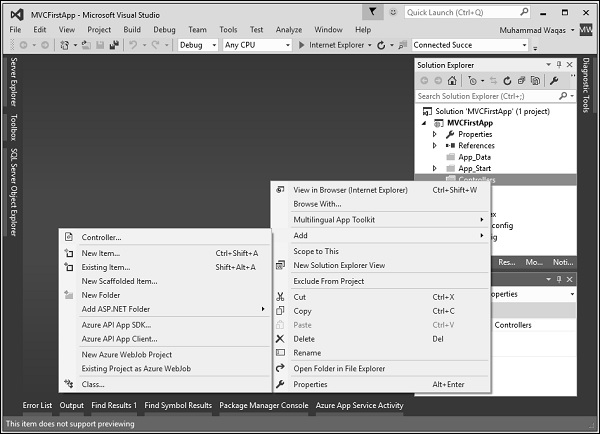
It will display the Add Scaffold dialog.
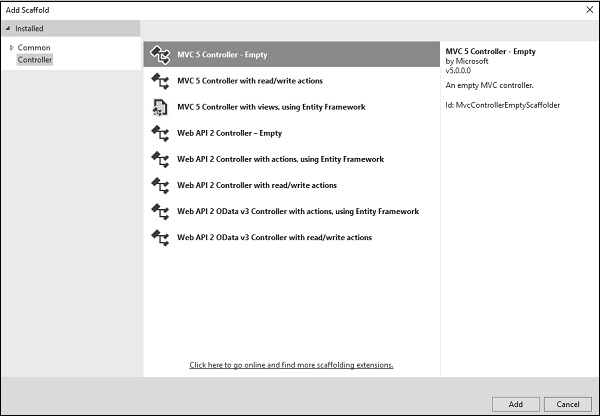
Step 2 − Select the MVC 5 Controller Empty option and click Add button.
The Add Controller dialog will appear.
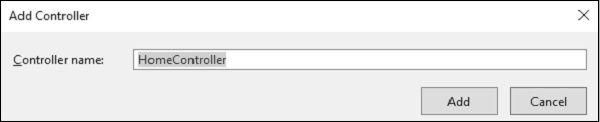
Step 3 − Set the name to HomeController and click the Add button.
You will see a new C# file HomeController.cs in the Controllers folder, which is open for editing in Visual Studio as well.
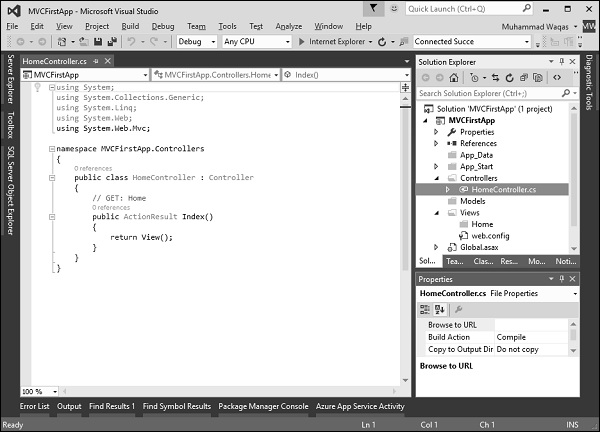
Step 4 − To make this a working example, lets modify the controller class by changing the action method called Index using the following code.
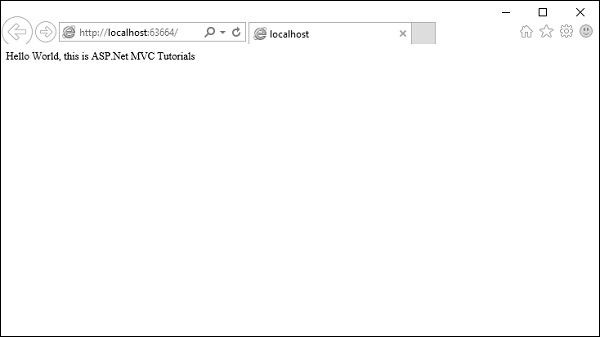
using System; using System.Collections.Generic; using System.Linq; using System.Web; using System.Web.Mvc; namespace MVCFirstApp.Controllers { public class HomeController : Controller { // GET: Home public string Index(){ return "Hello World, this is ASP.Net MVC Tutorials"; } } }
Step 5 − Run this application and you will see that the browser is displaying the result of the Index action method.